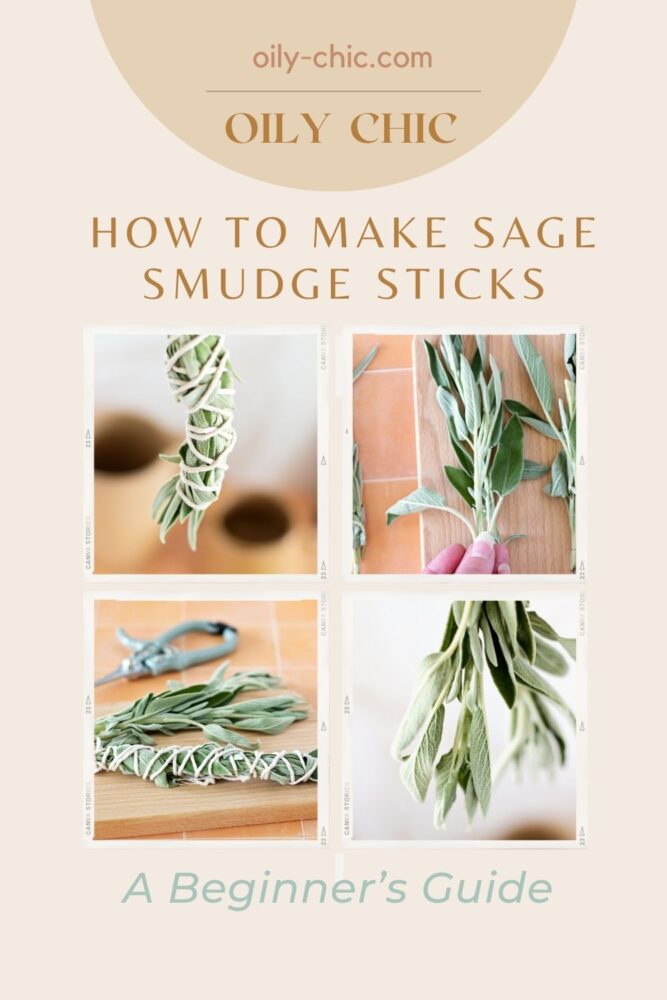
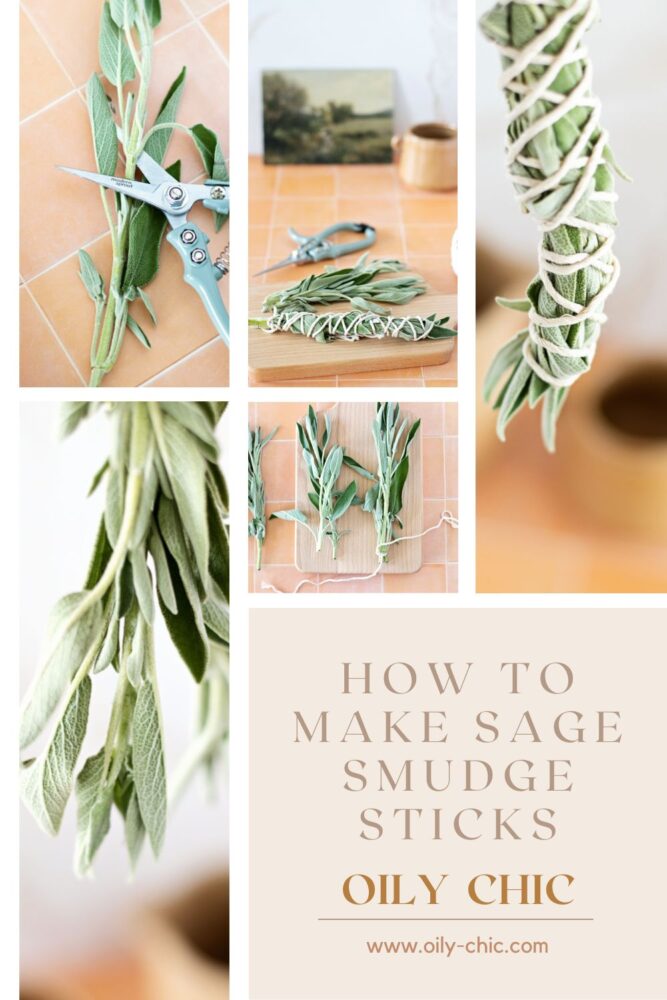
How To Make Sage Smudge Sticks A Beginner’s Guide
Discover how to make sage smudge sticks for a smudging ritual. And learn the art of crafting and using sage smudging to cleanse and purify your space.
I’m no stranger to the crisp, bold, earthy aroma of sage. I love using this sacred herb for aromatherapy and often enjoy it in my diffuser blends, handmade candles, DIY soap bars, and cleaning spray.
I was recently looking for the perfect place to stay in Sante Fe on a summer trip, and I was taken aback by the beauty of the native white sage bushes dotting the desert landscape. It had me curious about smudge sticks and their use in smudging rituals. I started thinking, “How hard could it be to learn how to make sage smudge sticks?”
So, on my next stop at Central Market, I picked up a gorgeous bundle of fresh sage, not crushed and flattened in a plastic case, and dove in! Now, I’m thrilled to share this delightful and informative guide on how to make and use sage smudge sticks.
I’ll answer the most commonly asked questions, from optimal drying time to embracing the age-old tradition of smudging sage. I know you’ll be surprised how simple it is to do. So, prepare to be captivated as we uncover the magic of nature’s aromatic essence with DIY sage smudge sticks.
For your convenience, this article contains some affiliate links; please read the full disclosure policy.

What Are Smudge Sticks, And Why Are They Used?
Smudge sticks are tightly bundled herbs, typically made from sage, that are ignited to produce fragrant smoke. These beautiful creations have been used for centuries in various cultures and traditions worldwide. Like essential oil, their purpose extends beyond their pleasant aroma.
Smudge sticks are widely used to cleanse negative energy, purify sacred spaces, and create a harmonious environment. The aromatic smoke is thought to carry prayers and intentions, helping to restore balance and invite positive energies into our lives. From what I understand, the act of smudging is a powerful way to connect with nature and spirituality.
To understand the significance of smudge sticks, let’s draw inspiration from the rich heritage of indigenous cultures. Native American traditions, for instance, incorporate smudging as a ritual to honor the Earth, cleanse the self, and prepare for sacred ceremonies. Sage, specifically white sage (Salvia apiana), holds immense spiritual importance in these practices due to its ability to ward off negativity and promote healing.
Incorporating smudge sticks into our modern lives allows us to tap into the ancient wisdom passed down through generations. Whether we seek to create a serene space for meditation, clear stagnant energy from our home, or simply infuse our surroundings with positive vibes – smudge sticks offer a tangible tool.
Related To: Making Sage Shower Steamers
Is Sage The Only Herb Used In Smudge Sticks?
While sage, especially white sage, is widely recognized as a primary herb for smudging, it is not the sole option. Different cultures and traditions incorporate various herbs and botanicals in their smudge sticks, each with unique properties and intentions.
For instance, cedar is commonly used in Native American rituals, known for its purifying properties and connection to ancestral energies. Lavender, rosemary, and mugwort are additional herbs that can be combined with sage to enhance specific intentions or customize your smudge stick’s aroma. And you can incorporate those fresh or dried.
However, for the purpose of this guide, we will focus on sage smudge sticks, particularly those made with fresh sage leaves. Sage holds a special place in the smudging realm due to its versatility, accessibility, and potent energy. By mastering the art of crafting sage smudge sticks, you’ll be equipped with a foundation to explore and experiment with other herbal combinations, allowing your creativity to flourish.
Now let’s begin the practical aspect: crafting your very own sage smudge sticks!
Related To: 8 Cedarwood Essential Oil Uses

Crafting Your Own Sage Smudge Sticks
It’s time to roll up our sleeves and create our own sage smudge sticks, infusing them with creativity and intention. I’ve included step-by-step instructions on how to make sage smudge sticks covering the process of assembling and drying the smudge sticks in detail.
Gather Your Supplies:
- Scissors
- Natural Cotton Twine
- Fresh Sage Leaves or Dried
How To Make Sage Smudge Sticks
Assembling the Smudge Stick
With your fresh sage leaves and natural twine in hand, we are ready to begin creating our sage smudge sticks. Take a moment to appreciate the vibrant green hues and the beautiful aroma of the sage. Feel the connection to nature by rubbing your fingertips on a sage leave, then cupping your hands to your face to inhale.
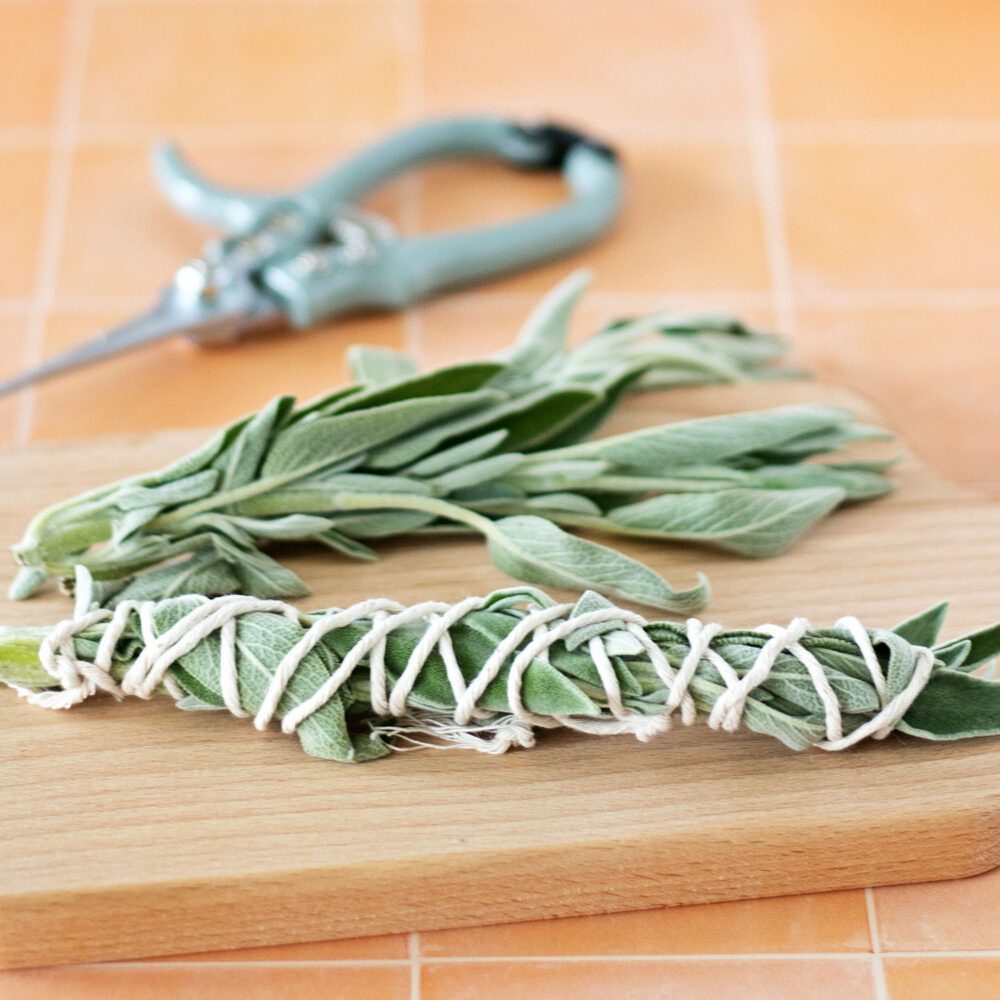
1. To assemble the smudge stick, gently gather a small bundle of sage stems, selecting those that are uniform in size and free from any damage. Feel free to experiment with the number of leaves and length, depending on your preference and the desired thickness of your smudge stick.
2. Next, carefully align the stems of the sage leaves, ensuring they face the same direction. By doing so, you will have a neat and compact bundle. Hold the base of the stems firmly as you start wrapping the natural cotton twine around the bundle, securing the leaves in place.
3. As you wrap the twine, maintain a steady tension, ensuring the sage leaves remain tightly bundled together. Continue wrapping until you reach the top of the stems, leaving a small length of twine for tying and securing the smudge stick.
Remember, assembling a smudge stick is not only about creating a physical object, but also about infusing it with your intentions and energy. With each wrap of the twine, envision the qualities you wish to manifest in your life. Let your creativity flow and allow the smudge stick to reflect you.
Tying and Drying the Smudge Stick
1. Once you have completed wrapping the twine, it’s time to secure the smudge stick with a final knot. Take the remaining length of twine and carefully tie it around the base of the stems, ensuring a firm and secure closure. You may choose to leave a loop at the end, allowing you to hang your smudge stick for drying or storage.
2. Place the smudge stick in a well-ventilated area to dry away from direct sunlight and moisture. Patience is key during this drying process, as it allows the leaves to retain their potency and ensures a longer burn time when used.
3. The ideal drying time for sage smudge sticks can vary, typically taking about 1 to 2 weeks. You will know your smudge stick is ready when the leaves have a crisp texture and easily crumble when touched.
Your smudge stick is now ready to use! Follow the tips outlined below to ignite the flame of ancient traditions and create a sacred space of positive energy and harmony!

How Do You Use Sage Smudge Sticks?
Now that you have beautifully crafted your sage smudge stick, it’s time to explore the art of using it to harness the transformative power of smudging sage. Follow my step-by-step process for using a smudge stick and discovering the various ways it can enhance your life.
NOTE: If your smudge sticks are not 100% dry, wait until they are!
How To Use Sage Smudge Sticks
To begin, find a quiet and well-ventilated space to perform your smudging ritual, opening windows and doors to allow the smoke to dissipate. Having a fireproof dish or abalone shell is also helpful in catching any falling ashes.
Step 1: Light the tip of your smudge stick using a match or a candle flame. Allow the flame to flicker for a few seconds. Then gently blow it out, leaving the smudge stick smoldering and emitting fragrant smoke.
Step 2: Hold the smudge stick at a slight angle and guide the smoke around your body, starting from your feet and moving upwards. Envision the smoke enveloping you, cleansing away negative energy and creating a protective aura. Be mindful of your intentions and the positive energy you wish to invite into your space and being.
Step 3: Allow yourself to be present in the moment, deeply inhaling the aroma of the sage. Feel the energetic shift, the cleansing, and the renewal taking place within you and your environment.
As you move through your space, use a feather or your hand to waft the smoke gently. Focus on areas that may feel stagnant or in need of energetic clearing. Pay particular attention to corners, doorways, and objects that hold emotional significance.

Now you can discover the sacred ritual of smudging sage to cleanse and purify your surroundings, bringing peace and harmony into your life.
MORE ESSENTIAL OIL DIYS:
- DIY Reed Diffuser
- DIY Body Shimmer Spray
- How to Make Foaming Hand Soap
- Essential Oil Roller Bottle Recipes
- Eucalyptus Diffuser Blends
Pin this tutorial for how to make sage smudge sticks to your Pinterest self-care board. While there, follow Oily Chic for more inspired ideas. P.S. You can tag #oilychic on Instagram to share your essential oil DIYs with us.
