Fall DIY Diffuser For Essential Oils A Simple Fall Decorating Idea
Create a simple fall DIY diffuser for essential oils. This fall DIY craft will unfold the scents of autumn in every corner.
As the air turns crisp and leaves start to paint our landscape in warm hues, I can’t help but get excited about all things fall. If you’re anything like me, you’re probably on the lookout for a simple yet charming way to easily decorate for fall.
Well, guess what? I have a perfectly simple fall decorating idea for you that will infuse those cozy autumn vibes into your living space.
So, if you are looking for a unique touch that screams fall without being over-the-top? You’re in for a treat! Imagine creating an ambiance that’s visually stunning and aromatic, wrapping you in the comforting scents of the season.
So, how do you make a room fall themed? With this homemade reed diffuser, you’ll effortlessly elevate your space with the essence of fall. Because there’s no need for elaborate fall decor arrangements when you have the best fall essential oils!
What’s a reed diffuser?
A reed diffuser consists of aromatherapy oils that slowly travel up reeds held in a container and are released into the air.
And this simple fall craft to create a reed diffuser for essential oils allows us to sprinkle that autumn magic without diving into hours of crafting!
Not only will I guide you through each step, but I’ll also share where to get your supplies and some of my favorite essential oil blends that perfectly capture the essence of autumn.
For your convenience, this article contains some affiliate links; please read the full disclosure policy.
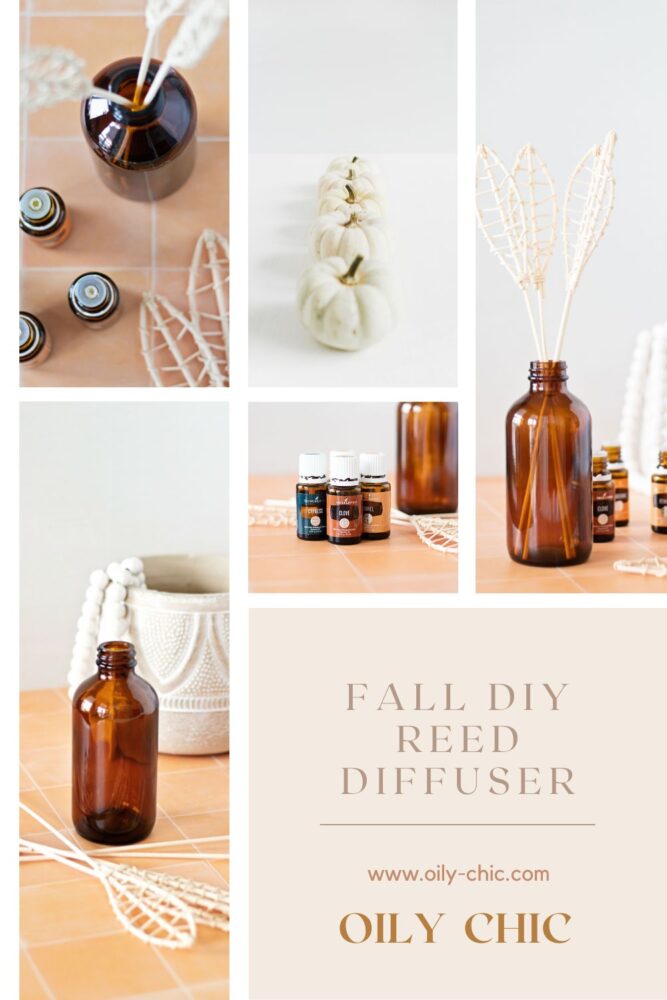
What Do You Need To Make A Reed Diffuser?
Whether you’re hosting a cozy get-together or simply want to bask in the fall vibes solo, this is the perfect DIY for all your autumn decorating aspirations. Let’s dive into what you need to make a reed diffuser.
1. A Reed Diffuser Bottle
Need ideas for what to use for a reed diffuser bottle? That’s easy! If you have an empty glass spray bottle as I did, I love amber glass bottles; then you’re set.
If you’re looking for something more elegant or want to make reed diffusers for gifts, then check out these options:
2. Reed Diffuser Sticks
I’m going to be honest here. – I tried to use my husband’s bamboo skewers for grilling in place of reed diffuser sticks, and they didn’t work so well.
Don’t make the mistake I did; grab a bundle of rattan reeds designed for diffusing. Did you know reeds have little channels that allow diffuser oil to be pulled up and released into the air? You can see them if you look at the bottom of rattan reed diffuser sticks. I’ve found them to be much more effective in fragrancing a room.
And for this simple fall decorating idea, I used leaf-shaped reeds! Here are a few ideas that would be beautiful for fall decor:
How Many Reeds Should You Use?
8 to 12 rattan reed diffuser sticks will give you a great scent and fit into most containers. Oh, and if you’re using a short reed diffuser bottle, you can cut some of these reed diffuser stick types in half!
Related To: How To Use An Essential Oil Burner

What Is The Best Oil For A Homemade Diffuser?
The next thing you’ll need is a carrier oil. What’s the best carrier oil for reed diffuser recipes? In my experience, the best carrier oil for a reed diffuser is plant-based, light, and has little to no scent.
The top two oils I use are sweet almond oil and fractionated coconut oil. You can use other carrier oils, but just make sure you avoid these.
Related To: Fun Essential Oil Fall DIY Projects
Fall Essential Oils For Diffusing
Now, if you’re curious about achieving that effortlessly chic fall-themed diffuser, it all comes down to the essential oils you choose! Because when night falls sooner, fall leaves cover the ground, and the cool autumn air calls for a sweater, it’s those fall scents that bring us comfort and warmth.
Best Fall Essential Oils:
Clove
Bergamot
Thieves
Fennel
Cedarwood
Elemi
Clary Sage
Orange
Black Pepper
Ginger
Northern Lights Black Spruce
Vanilla
Cardamom
Frankincense
Vetiver
Idaho Blue Spruce
Pine
Cinnamon
Lavender
Nutmeg
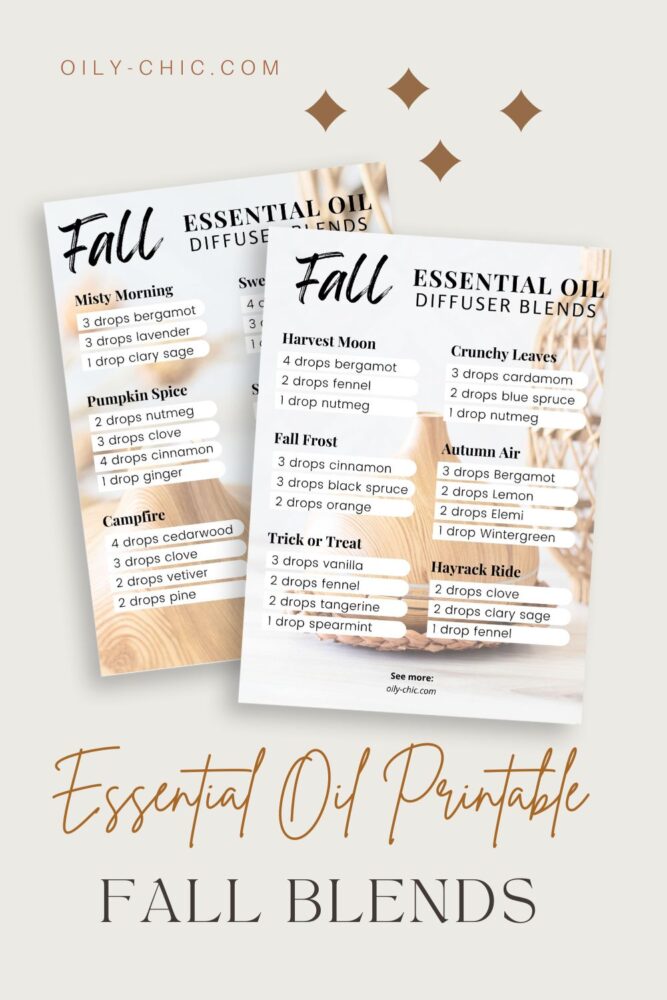
Turn to these fabulous essential fall diffuser blends to brew the best autumn vibes all day long. Pumpkin Spice, Sweater Weather, and Apple Cider, Oh My! Print each of these essential blend charts, and many more, from the Oily Chic Library.
You may also want to check out my spiced clove and cinnamon essential oil blend charts!
Now, let’s turn your space into a haven of fall enchantment, shall we?
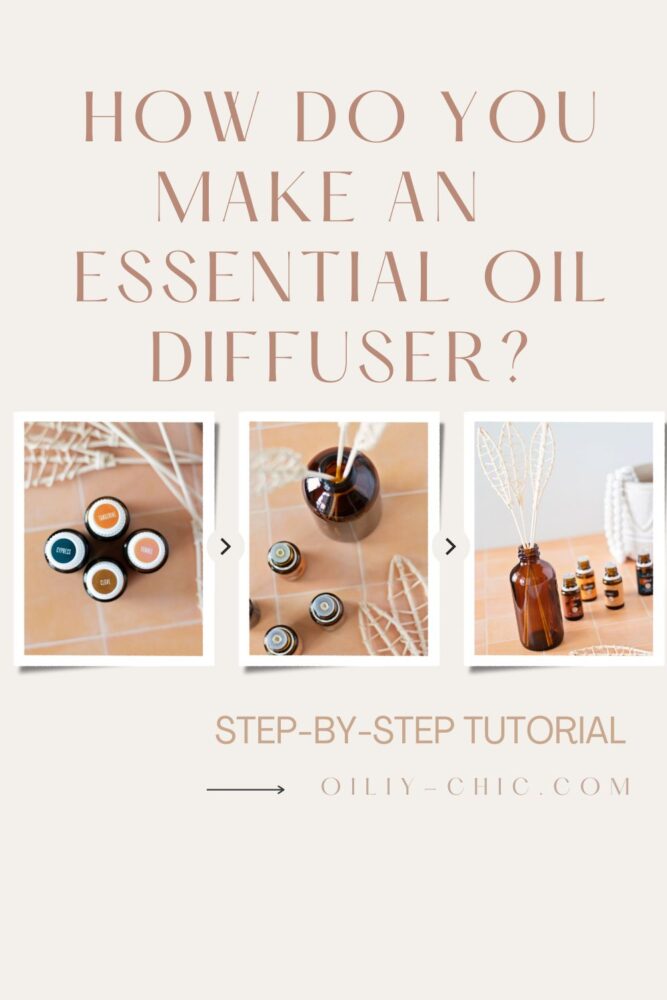
How Do You Make A Homemade Essential Oil Diffuser?
It’s quite simple to create a homemade essential oil diffuser with reeds. You’ll be infusing your space with the cozy scents of the season using this fall DIY decor idea in no time!
DIY Diffuser Supplies:
- 1 amber glass 8-ounce bottle
- 8 to 12 rattan diffuser reed sticks or leaf-shaped reeds
- ¾ cup fractionated coconut oil
- 3 tablespoons vodka
- 60 to 75 drops of essential oils
How To Make A Fall DIY Diffuser For Essential Oils:
1. Cut the rattan reed diffuser sticks to size for your chosen container. Keep in mind that you’ll want them to extend approximately six inches above the top of the jar or vase.
2. Set the reeds aside and pour ¾ cup fractionated coconut oil into the container. Then add 3 tablespoons of vodka to the oil.
3. Next, choose your essential oil diffuser blend totaling 60 to 75 drops of essential oils for an 8-ounce container. Cut this amount in half for a 4-ounce container or double it for a 16-oz container, and so on.
4. Last, place the pre-cut reed diffuser sticks into the container. Enjoy the aromatherapy as it slowly absorbs and travels up the reeds. If you’re using plain reed diffuser sticks, flip the diffuser reeds over every few days or once a week to refresh the scent.
How long do the reeds last in a diffuser?
You can expect a DIY reed diffuser to last 2 to 4 months without a refill. But this does depend on the temperature and moisture level of the room it’s in.
And to make a reed diffuser oil refill, simply follow the directions above for making reed diffuser oil again. If you want to try a new scent, I suggest washing your container and using new reed diffuser sticks.
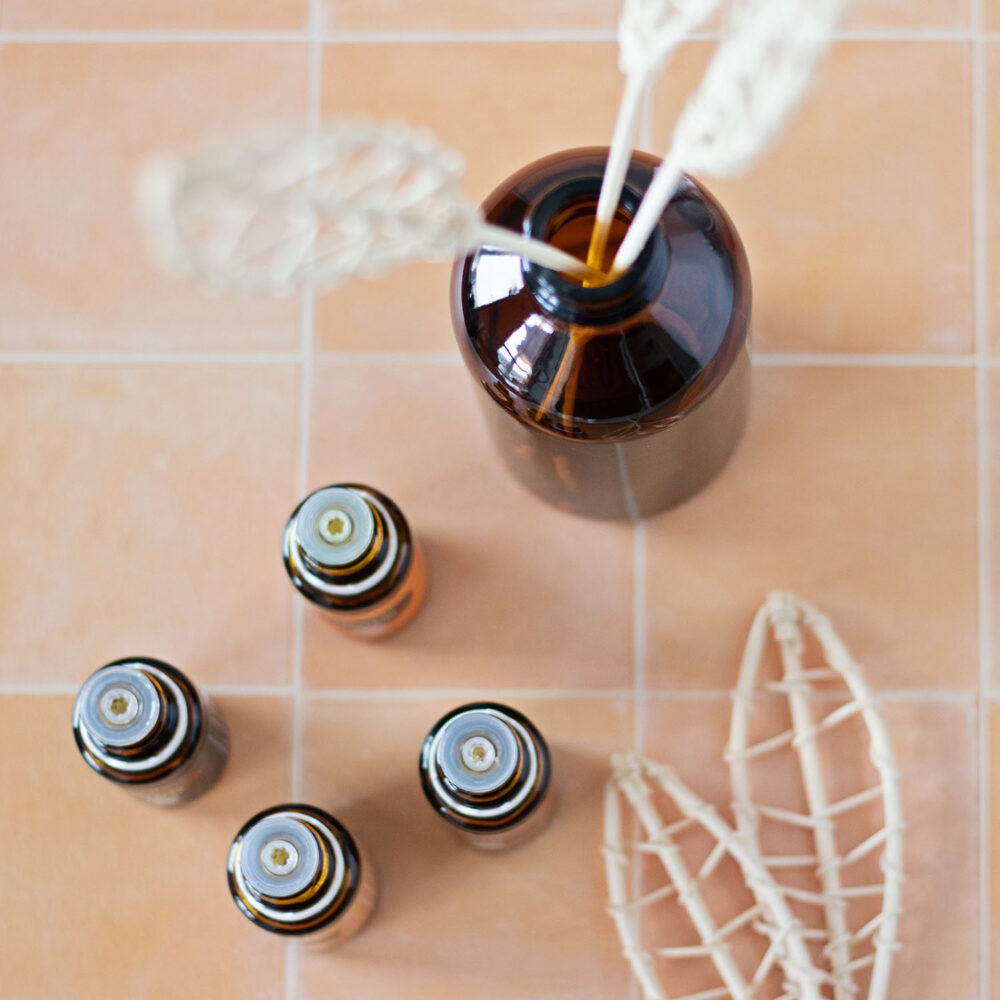
Transform your home into a haven of autumn coziness effortlessly with this fall DIY diffuser for essential oils!
MORE ESSENTIAL OIL DIYS:
- DIY Reed Diffuser
- DIY Body Shimmer Spray
- How to Make Foaming Hand Soap
- Essential Oil Roller Bottle Recipes
- Eucalyptus Diffuser Blends
Pin this fall DIY diffuser to your Pinterest Essential Oil DIY Board, and while there, follow Oily Chic for more inspired ideas. And don’t forget to print the charts above!
P.S. Did you know you can tag #oilychic on Instagram to share your essential oil DIYs with us?
