How To Use An Essential Oil Burner With DIY Tea Lights
Here’s how to use an essential oil burner with DIY tea lights you can refill and reuse! The perfect way to diffuse without electricity!
Do you love the aroma of essential oils but lack an outlet for standard ultrasonic diffusers, not to mention the cost of more than one? I had the same dilemma for some spaces in our home.
Like our master bath, for example, I frequently use the outlets for my hot hair tools and to recharge our toothbrushes or my husband’s razor. This leaves me just one outlet the builder placed under the towel hook (really?) right above my husband’s sink. Yeah, I can’t put a diffuser there.
Thankfully, I recently figured out a way to diffuse essential oils without needing an outlet. And I have to say; it’s an affordable solution too!
Plus, you can still use your favorite diffuser blend recipes or mix and match essential oils for a custom blend.
And if you love the ambiance of candlelight, you’re really going to love this solution! It’s an essential oil burner that is very easy to use in any space. I’m sharing everything you need to know about how to use an essential oil burner, including simple DIY tea lights!
For your convenience, this article contains some affiliate links; please read the full disclosure policy.

What is an essential oil burner?
An essential oil burner is used to heat and diffuse essential oils, filling the air with their fragrance. It typically consists of a bowl or dish where you place water and a few drops of essential oil.
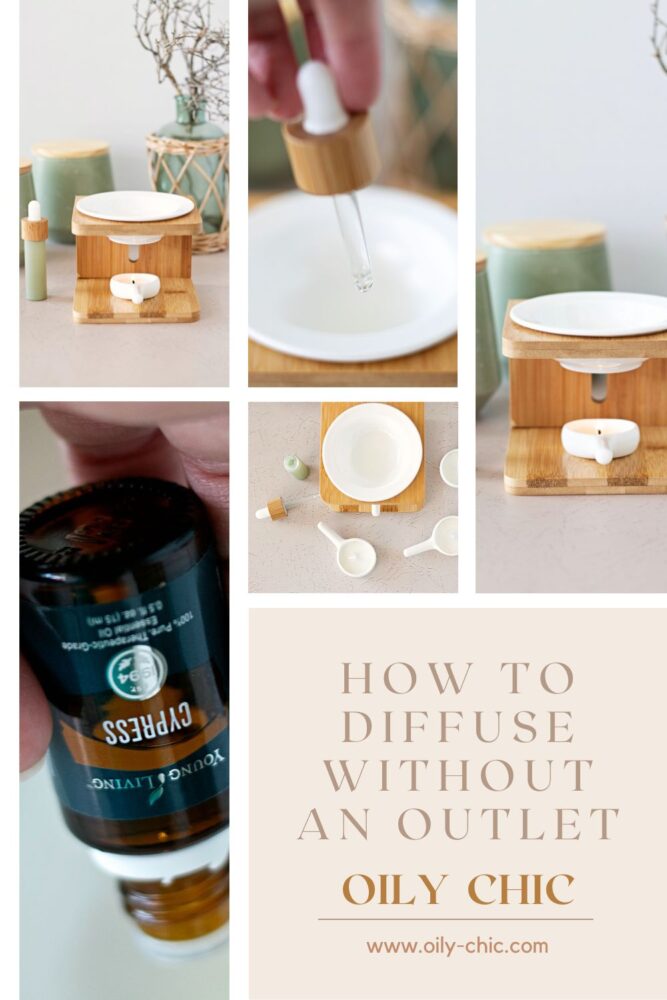
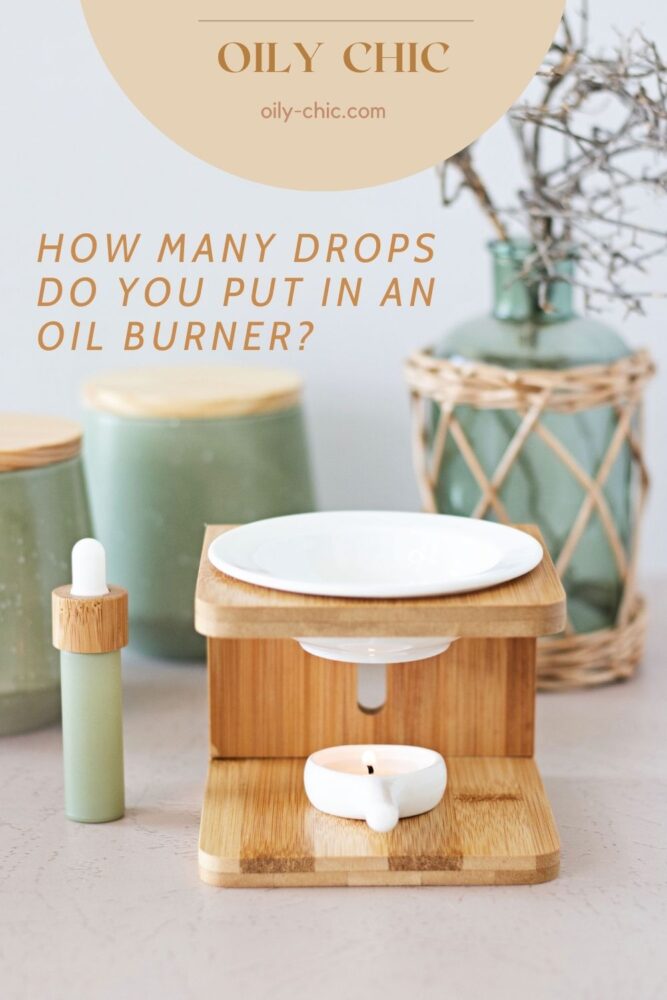
I use this essential oil burner, made of eco-friendly bamboo, a ceramic bowl, and a ceramic spoon for a tea light. You can also find it as a set with two bowls, two spoons, and two bamboo stands.
How do you use a tea light oil burner? Do you mix water with essential oils in a burner? Yes, to use an essential oil burner, fill the bowl with two-thirds water, then add essential oils.
Next, place a small tea light candle underneath the bowl to gently warm the water, causing the oil to evaporate and release its aroma.
You only need to have the tea light candle lit for a short time. Once the oil and water start evaporating, you can put it out.
What is the difference between an oil burner and a diffuser?
The difference between an oil burner and a diffuser lies in the method of diffusing essential oils. While an oil burner uses heat to evaporate the oils, a diffuser disperses them without heat.
Diffusers, such as ultrasonic diffusers or clay diffusers, rely on ultrasonic vibrations or porous materials to disperse the essential oil particles into the air, creating a fine mist or releasing the scent naturally.
And just in case you’re wondering if you can put essential oils in a wax warmer? – I would suggest no; they are designed for melting wax melts – not essential oils.
Whereas tea light burners are intended for diffusing essential oils; however, they can be used for a single wax melt. But watch it carefully, as they can spill over as the wax melts.
Related To: DIY Eucalyptus Candle Melts

How many drops of oil do you put in a burner?
Depending upon the size of the essential oil burner, you typically need only five to eight drops of oil, just like an ordinary diffuser. And all it takes is water to dilute essential oils for an oil burner.
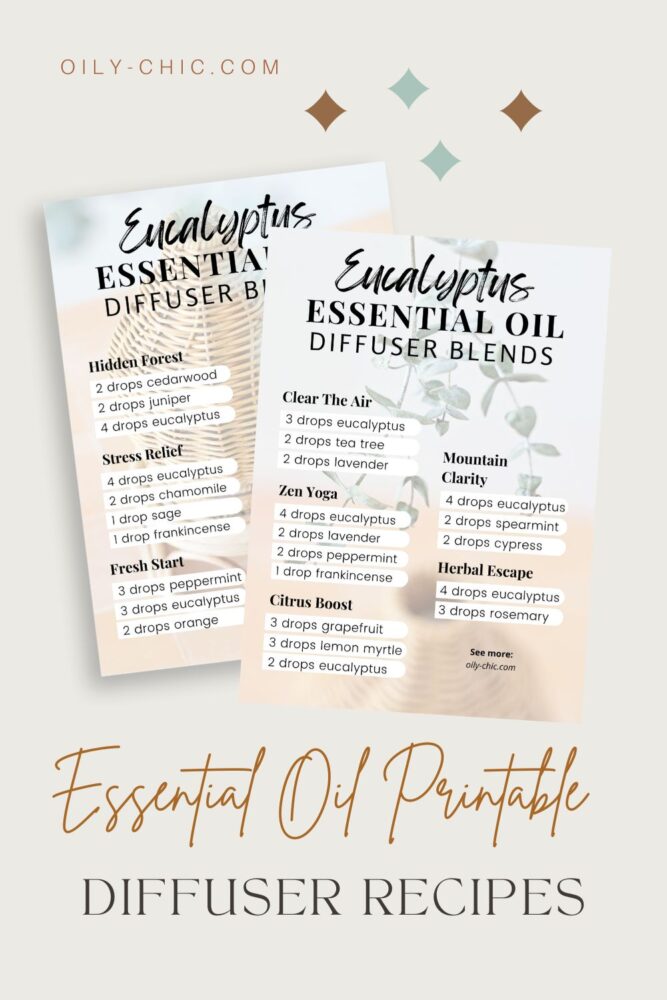
So, you can use your favorite essential oil diffuser blends in an essential oil burner too! Be it summer, fall, rosemary, lavender, or lemon blends – you can enjoy them just the same.

Start with these printable essential oil blend charts for eucalyptus. Find both and many more essential oil printables in the Oily Chic Library.
Related To: DIY Reed Diffuser
How To Make DIY Tea Light Spoons For An Essential Oil Burner
Because you’ll need a tea light candle to use an essential oil burner, I find it’s best to make your own. You’ll know they’re clean-burning by using eco-friendly soy wax and natural cotton wicks.
And the tea light spoons are very convenient to use. Simply light the candle, then slip it into the essential oil burner and relax.
Supplies You’ll Need To Make Tea Light Candle Spoons:
1.67 ounces of eco-friendly soy wax
5 natural cotton tea light candle wicks
DIY Tea Light Spoons Instructions
I find it helpful to line your work area with old newspaper or parchment paper to catch any drips or overpours before you begin.
Step 1
Press a tea light candle wick into a glue dot on the roll. Then place it into the center base of one ceramic tea light spoon. Repeat until you have secured all five wicks in place.
Step 2
Measure 1.67 ounces of soy wax and pour it into a 2-cup glass measuring pitcher. The wax I used is safe to melt in the microwave, but if you use a different wax, follow its instructions. Melt the wax at 50% power in 30-second intervals until melted.
Step 3
Carefully pour the wax into each prepared tea light spoon. I recommend using a funnel or a narrow pouring pitcher like this one to help avoid spills when making small tea lights or wax melts.
Once finished, allow the tea light candle spoons to cure for 24 to 48 hours before use.

Now you have an easy solution to diffusing essential oils without electricity! And these DIY tea light spoons make using an essential oil burner simple.
MORE ESSENTIAL OIL DIYS:
- DIY Reed Diffuser
- DIY Body Shimmer Spray
- How to Make Foaming Hand Soap
- Essential Oil Roller Bottle Recipes
- Eucalyptus Diffuser Blends
Pin these tips on how to use an essential oil burner to your Pinterest blends board, and while there, follow Oily Chic for more inspired ideas.
P.S. Did you know you can tag #oilychic on Instagram to share your essential oil DIYs with us?
