Blissful Clove Essential Oil DIY Bath Melts
Clove essential oil DIY bath melts are a warm, blissful bath in hand. And there is no learning curve when it comes to how to make bath melts.
The seasons are changing; cool misty mornings and chilly evenings await. Golden and flaming orange leaves will cover the ground, and the aromas of pumpkin spice and apple cider will fill our homes.
Autumn calls for us to wrap ourselves in comfort. If it’s a warm, blissful bath you seek this season, look no further than these clove essential oil DIY bath melts. They are every bit of autumn spice, warmth, and comfort.
Each is made with ultra-moisturizing natural ingredients to leave your skin feeling soft, smooth, and nourished. And the rich, warming aroma of clove creates a grounding aromatherapy bath of nostalgia.
Like a bowl of oatmeal or a cup of hot cider, they are, in fact, instant comfort. Just the slip of one DIY bath melt into your bath will lead you to a restorative, relaxing soak.
And this essential oil bath melts recipe is easier than ever to make! Find everything you need to know to about how to make bath melts with essential oils.
For your convenience, this article contains some affiliate links; please read the full disclosure policy.
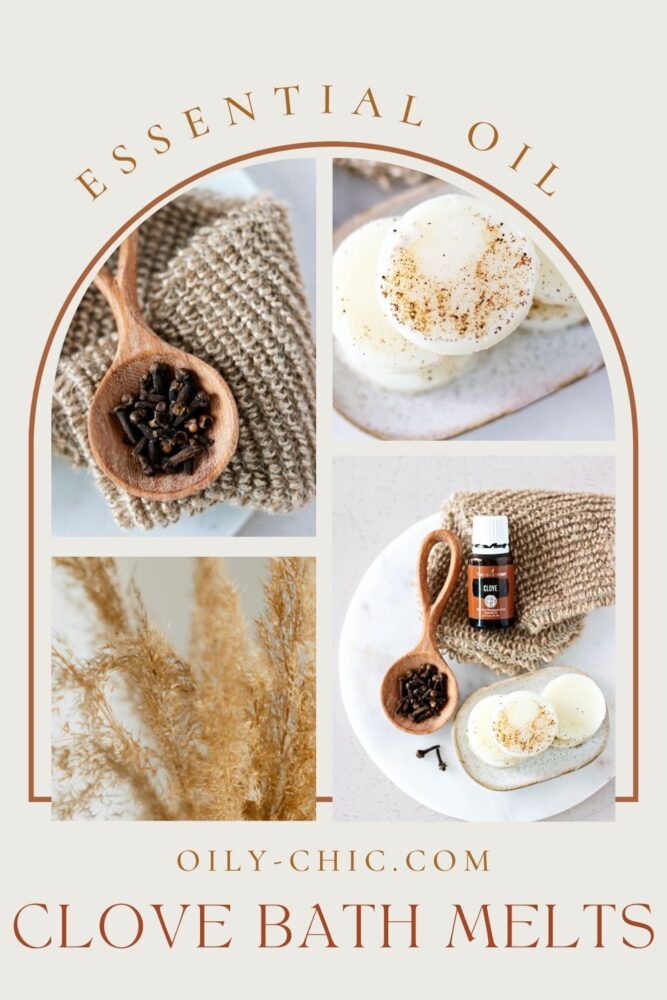
What Are Bath Melts?
Bath melts are a combination of body butter and a carrier oil. Similar in size to candle melts, they, too, melt with the introduction of heat. And when you add essential oils, bath melts can offer wonderfully fragrant aromatherapy.
Like my homemade bath oil, bath melts are designed to soften the skin. This is why they contain hydrating cocoa, shea, or mango butter.
And unlike a bath bomb, bath melts do not fizz and typically aren’t colorful. But, they are an easy and enjoyable way to soften your skin from head to toe!
Related To: Fall Essential Oil Wax Melts
What does a bath melt do?
Bath melts are designed to melt into warm bath water and release the moisturizing body butter and carrier oil, allowing your skin to soak it up. I chose shea butter for this bath melts recipe because it’s made of unsaturated fats and Vitamins E, A, and D. I also selected coconut oil for its super nourishing proteins, fats, and additional Vitamin E.
Together shea butter and coconut oil replenish the skin with a softness you can feel during and after a bath. And the addition of spicy clove essential oil gives the bath a cozy feel with a warming effect.
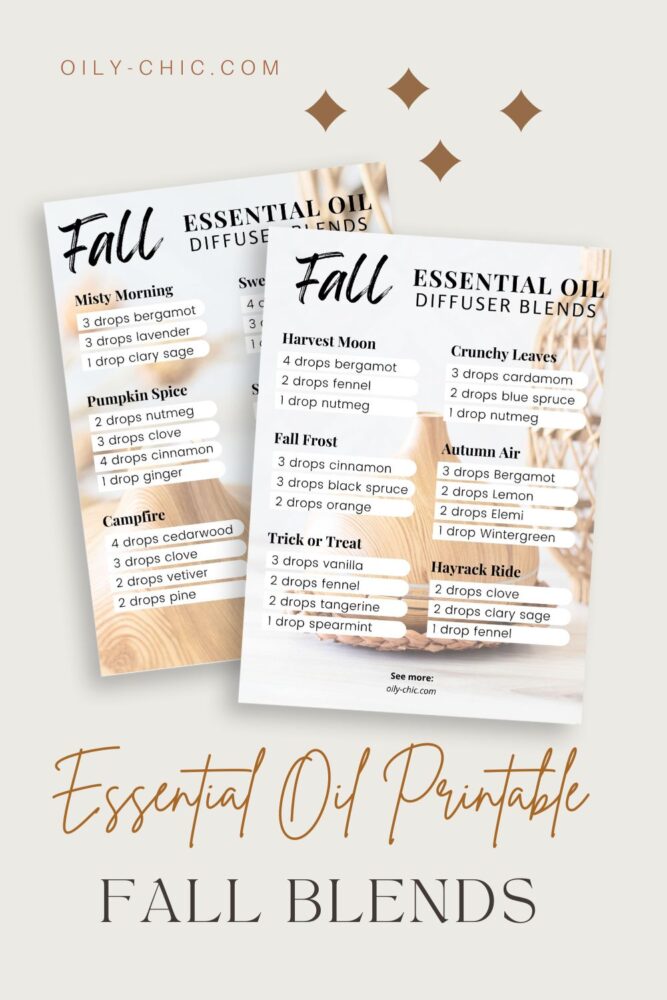
You can choose to add other essentials like peppermint for Christmas or ylang-ylang for Valentine’s Day. If you are looking for a great cozy aroma, these essential oil recipes for fall will do the trick! Print each of these essential blend charts. Find both charts and many more essential oil printables in the Oily Chic Library.
And that’s it; all it takes is just these three ingredients to make bath melts! It’s so easy to make homemade bath melts that you’ll likely find yourself making dozens too.
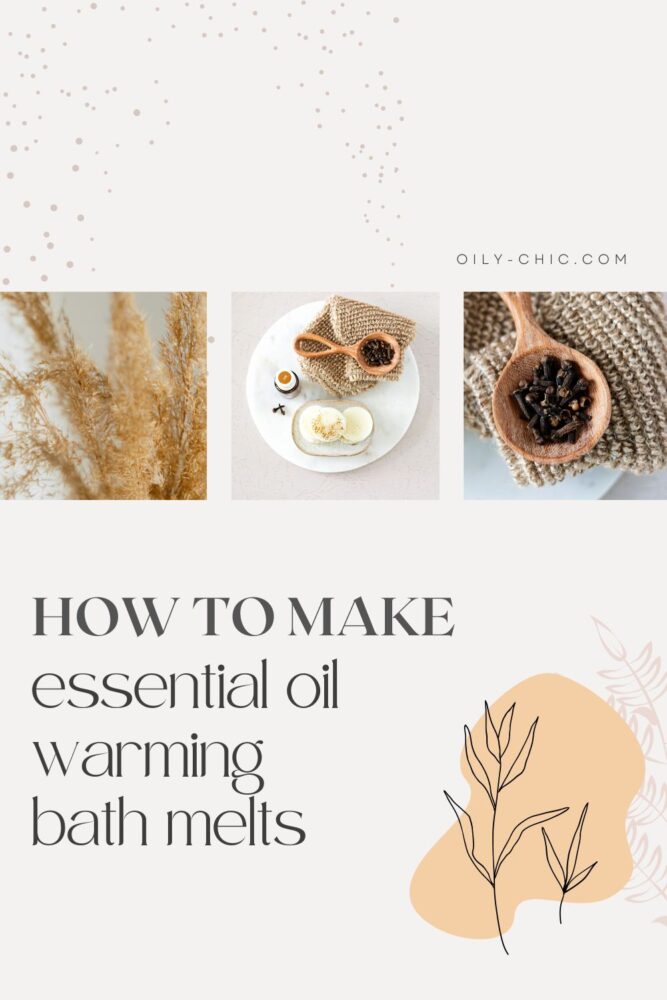
How do you make your own bath melts?
These DIY bath melts are a luxurious way to moisturize and maintain silky soft skin. And the clove essential oil with a sprinkle of ground clove spice makes for a warm, blissful bath indeed.
You can have this luxurious bath in hand with a simple bath melts recipe without the learning curve other beauty recipes require.
Clove Essential Oil Bath Melts Ingredients:
¾ cup shea butter
3 tablespoons coconut oil
15 drops clove essential oil
⅛ teaspoon ground clove
1 round silicone mold
How To Make Bath Melt With Essential Oils
1. First, prepare the round silicone mold by cleaning, drying, spritzing with rubbing alcohol, and wiping clean. Place it on a baking sheet for ease of use.
2. Scoop ¾ cup of shea butter into a large glass measuring cup with a spout. Then melt it in a double broiler on low heat or at 50% power in the microwave for 30-second intervals, stirring in between for approximately 1.5 minutes.
3. Next, remove the melted shea butter from the microwave and add 3 tablespoons of coconut oil and 15 drops of clove essential oil. Stir to blend the ingredients and pour the mixture into each section of the silicone mold.
4. Then sprinkle the tops of the bath melts with ⅛ teaspoon of ground clove. Place the silicone mold on the baking sheet into the refrigerator to cool and solidify for one hour.
5. After solid, remove the refrigerator. Place a second baking sheet on top and carefully remove the bath melts from the molds by pressing each one out. Store the bath melts in an airtight container in the refrigerator to keep them from melting until use.
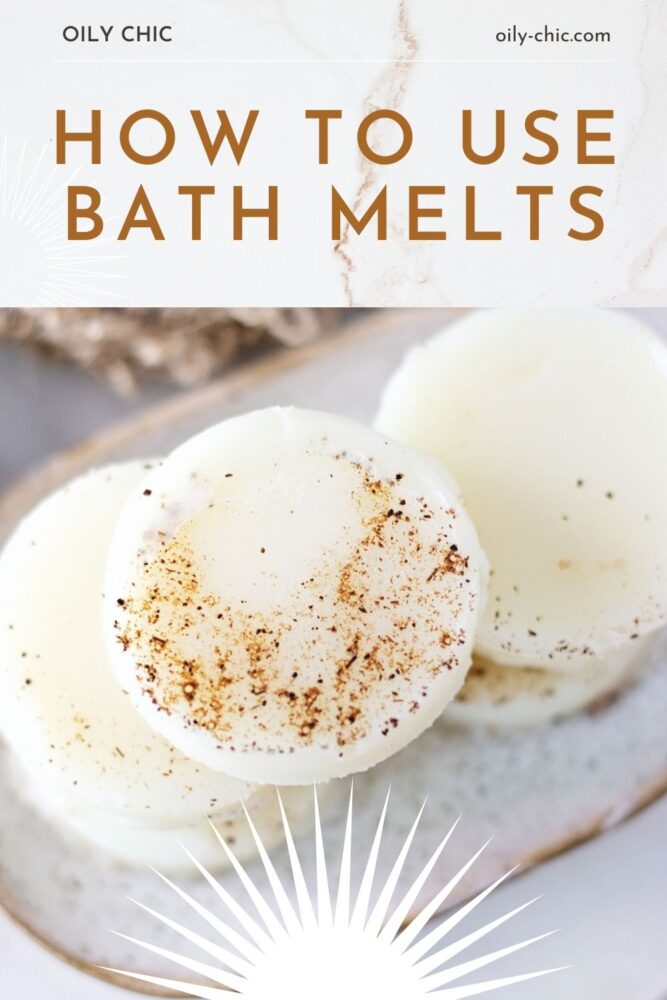
How do you use bath melts?
When you’re craving an indulgent warming bath, all it takes is one clove DIY bath melt! Simply pour a hot bath, then add one into the warm bath water. It will completely melt into the water and create a velvety, deep moisturizing bath.
And you’ll enjoy clove’s warming effect and its comforting aroma.
What are you waiting for?
The next time you pour a bath, add an essential oil bath melt packed with nourishing ingredients to deeply soften the skin. And if a bath isn’t on your agenda, use a bath melt in the shower after cleansing.
You won’t need to apply lotion after either use of a bath melt!
MORE ESSENTIAL OIL DIYS:
- DIY Body Shimmer Spray
- How to Make Foaming Hand Soap
- Essential Oil Roller Bottle Recipes
- Eucalyptus Diffuser Blends
- DIY Crystal Candle Bowl
Pin this recipe for clove essential oil DIY bath melts to your Pinterest DIY board, and while there, follow Oily Chic for more inspired ideas. And don’t forget to print a fall blends chart!
P.S. Did you know you can tag #oilychic on Instagram to share your essential oil DIYs with us?
